
Croquembouche
Croquembouche e un desert frantuzesc care are la baza celebrul aluat oparit, o tehnica foarte simpla a cofetariei frantuzesti. Simpla, dar nu neaparat usor de stapanit! Si totusi, cumva ma intorc la acest aluat! Adevarul e ca mi-e tare drag de el – o reteta atat de simpla si totusi cu rezultate atat de impresionante!

Croquembouche e o reteta pe care o avem mostenire de la celebrul Antoine Careme, primul chef celebru al Europei, omul care a schimbat fata cofetariei si cel care ne-a lasat mostenire multe tehnici si retete folosite chiar si in zilele noastre. El a facut din acest desert alegerea ideala pentru banchetele de nunta, insa nu s-a oprit doar la bine cunoscuta forma conica, ci si-a folosit cunostintele de arhitectura pentru a construi pavilioane, moschei sau turnul din Fez. Peste timp insa, forma conica este cea care a supravietuit.
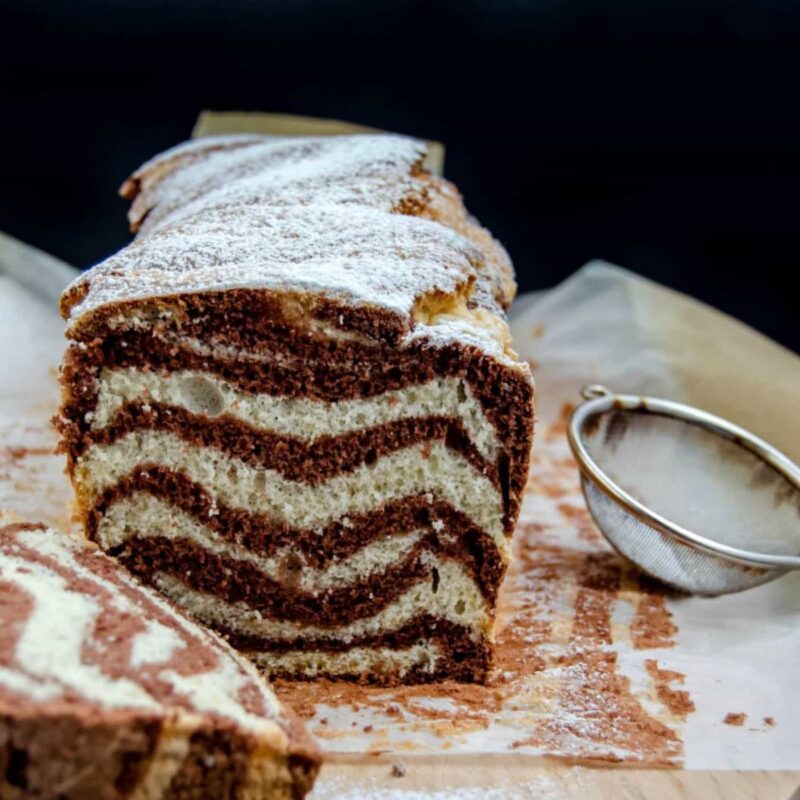
Fotografiile din aceasta postare sunt realizate de Ionela Stoica aka Pupile Gustative. Thank you, dear! You rock!

Croquembouche
Ingrediente
Craquelin:
- 90 g unt (temperatura camerei)
- 100 g zahar brun
- 1 praf de sare
- 100 g faina
Pate a choux:
- 160 ml apa
- 15 g lapte praf integral
- 2 g sare
- 5 g zahar
- 70 g unt
- 90 g faina alba
- 160 g oua intregi
- –––––––––
- 1 ou batut pentru uns
Crema diplomat cu vanilie:
- 500 ml lapte
- 100 ml smantana pentru frisca
- 1 pastaie de vanilie
- 180 g galbenus
- 200 g zahar alb
- ¼ lingurita sare
- 60 g amidon
- 8 g gelatina + 40ml apa rece
- 300 ml smantana pentru frisca (batuta)
Glazura caramel:
- 400 g zahar
Caramel pentru lipit:
- 400 g zahar alb
- 45 g glucoza lichida
- 90 ml apa
Instructiuni
Craquelin:
- Mixati untul cu zaharul brun pana se deschide la culoare.
- Adaugati faina si sarea.
- Intindeti aluatul obtinut intre doua foi de hartie de copt.
- Congelati pana la nevoie.
Aluat oparit:
- Combinati apa, laptele praf, sarea, zaharul si untul intr-un vas.
- Incalziti usor pana la topirea untului, apoi dati in clocot.
- Dati deoparte si adaugati faina, toata o data. Amestecati energic.
- Puneti din nou pe foc si gatiti 2-3 minute la foc mediu pentru a usca usor opareala.
- Transferati in alt bol si lasati sa se raceasca 5-10 minute, apoi incorporati treptat ouale.
- Puneti aluatul intr-un pos cu dui rotund si realizati choux-uri egale in tava.
- Inmuiati o furculita in ou batut si presati usor partea de sus a fiecarui choux.
- Coaceti in cuptorul preincalzit la 170-180C pentru 30 minute si inca 10 minute la 160C.
- Coaceti inca o portie de choux-uri cu craquelin deasupra. (scoateti foaia de craquelin de la congelator si taiati mici cercuri, la fel de mari ca si choux-urile, apoi asezati-le pe choux-urile necoapte si dati la cuptor).
Crema diplomat cu vanilie:
- Incalziti laptele si 100ml smantana pentru frisca impreuna cu pastaia de vanilie. Dati deoparte sa infuzeze 10 minute, apoi reincalziti.
- Hidratati gelatina in apa rece.
- Amestecati galbenusul cu zaharul alb sis area, apoi incorporati amidonul.
- Turnati in fir subtire laptele apoi reintoarceti pe foc si gatiti 1-2 minute dupa momentul in care se ingroase pentru a va asigura ca amidonul este complet gatit.
- Luati de pe foc si incorporati gelatina.
- Lasati crema sa se raceasca complet apoi mixati sa redevina cremoasa.
- Incorporati smantana batuta.
- Umpleti choux-urile cu aceasta crema.
Glazura caramel:
- Topiti zaharul pana are o culoare aurie inchisa.
- Inmuiati fiecare choux in aceasta glazura apoi asezatile cu fata in jos pe o foaie de copt sau de silicon. Lasati glazura sa se raceasca complet.
- Pentru o diversitate de décor, inmuiati o parte din choux-uri in glazura apoi presarati-le cu zahar cubic si felii de migdale.
Caramel pentru lipit:
- Combinati toate ingredientele si gatiti, spaland usor peretii vasului, pana obtineti o cluoare aurie foarte deschisa.
- Folositi acest caramel pentru a lipi si a construi croquembouche-ul.
ENGLISH
French pastry is the ultimate way of making desserts! And it’s not just me saying it! The thing with French pastry though is not only that it produces great desserts, but also the fact that learning a certain technique can prove useful later on or it can lead the way to another great technique. I do find pastry to be extremely logical once you learn all the bases. One thing leads to another then another and before you know you’ve progressed quite a lot on this path. It’s pretty amazing! It does take time though… and dedication, motivation, passion and everything in between!
But the ultimate choux dessert is definitely a croquembouche. I’ve made this before, but definitely not at this level. My first attempt was more in the beginner levels. The first time, I didn’t use a cone support at all and although the construction proved ok, using a support for your dessert is the way to go if you’re looking for a stable croquembouche. Especially when you are making tall desserts!

Croquembouche was made famous by the one and only Antoine Careme, the first celebrity chef of Europe, the one who revolutionized pastry and left us heritage plenty of techniques and recipes that we use even nowadays. Originally, the croquembouche had a conic shape, but that wasn’t enough for Careme. Having studied architecture, he created even towers and pavilions or moschees, the Turkish fez being one of his most famous shapes. Time passed by though and the conical shape was the only one to survive.
Croquembouche
Ingrediente
Craquelin:
- 90 g butter (softened)
- 100 g brown sugar
- 1 pinch salt
- 100 g all-purpose flour
Pate a choux:
- 160 ml water
- 15 g powdered milk
- 2 g salt
- 5 g white sugar
- 70 g butter (cubed)
- 90 g all-purpose flour
- 160 g whole eggs
- Plus 1 egg for egg wash
Vanilla diplomat:
- 500 ml whole milk
- 100 ml heavy cream
- 1 vanila bean
- 180 g egg yolks
- 200 g white sugar
- 2 g salt
- 60 g cornstarch
- 8 g gelatin + 40ml cold water
- 300 ml heavy cream (whipped)
Caramel glaze:
- 400 g white sugar
Caramel “glue”:
- 400 g white sugar
- 45 g liquid glucose
- 90 ml cold water
Instructiuni
Craquelin:
- Mix the butter and sugar in a bowl until pale.
- Add the flour and salt and mix well to form a paste.
- Spread the dough between two sheets of baking paper until very thin then freeze until needed.
Pate a choux:
- Combine the water, powdered milk, salt, sugar and butter in a saucepan.
- Heat up until the butter is completely melted then bring it to a boil.
- Remove off heat and stir in the flour, all at once. Mix well until well combined then place back on heat and continue cooking for 2-3 minutes or until a thin layer of dough sticks to the bottom of the pan.
- Transfer into a bowl and allow to cool down for 10 minutes then begin adding the eggs, gradually, mixing well after each addition.
- Spoon the dough into a pastry bag then form small dollops of dough on a baking pan lined with baking paper or, even better, silicone mat.
- Brush some of the choux with egg wash.
- For the rest of the choux, take the craquelin out of the freezer and cut small circles, just as big as the choux. Place the craquelin on top.
- Bake the choux in the preheated oven at 350F for 30-40 minutes or until golden brown and crisp.
- Allow to cool down then make a small hole on the bottom of each choux. Use a small pastry tip for this task.
Vanilla diplomat:
- Heat the milk and the heavy cream together with the vanilla bean in a saucepan. Remove off heat and cover with plastic wrap. Allow to infuse for 15 minutes.
- Bloom the gelatin in cold water.
- Mix the egg yolks with the sugar and salt for a few minutes until pale. Add the cornstarch and mix well.
- Pour the warm milk in a slow stream then return back on heat.
- Cook on low flame until the cream is thick then continue cooking for 1 more minute to cook off the cornstarch.
- Remove from heat and stir in the gelatin.
- Cover the cream with plastic wrap and allow to cool down.
- Mix the cream again until creamy then fold in the heavy cream.
- Spoon the diplomat in a pastry bag fitted with a small round tip then fill all the baked choux with this cream.
Caramel glaze:
- Melt the sugar until it has an amber colour.
- Dip the top of each choux (only those without craquelin) in the melted sugar. Decorate some of the choux with almond slices and pearl sugar. Be careful when working with hot sugar!
- Allow to set.
Caramel “glue”:
- Combine the three ingredients in a saucepan and cook, washing the sides of the pan with a brush dipped in water, until the caramel has a light golden colour.
- Arrange your cone support by lining it with baking paper.
- Dip each choux into the hot caramel and arrange them on the cone.
- Allow to set then decorate.


In primul rand multumesc mult pt retetele tale! Te rog mult, ai putea sa imi spui cu ce era imbracat conul pe care l-ai folosit si cum s-au comportat choux-urile cand a trebuit sa le desprinzi pt a le manaca. S-au lipit intre ele si s-au rupt, s-au lipit de con mai tare si a mai ramas cate o bucata din choux pe con?
Conul l-am imbracat in hartie de copt.
Unele din ele se mai rup, dar nu s-au lipit de hartie, ci intre ele.